Building an OS
#3 Hello World from bootloader
What next?
To give you a picture of where we are heading to.
Right now we’re in 16 bit mode and we want to start our kernel which would be in 64 bit mode. We have to do the following steps before we can even do that.
- Find and load our kernel into RAM.
- Setup and enter 32 bit mode.
- Setup and enter 64 bit mode.
- Prepare information which would be passed to kernel.
- Call our kernel.
It would be going to be a information overload from here onwards.
Before we begin let’s print hello world.
BIOS provide us some basic function to print character into the screen. Let’s use it and print hello world.
Hopefully this would help you get started with assembly.
print(‘Hello world’)
At this level even printing a character is not an easy task. You may ask why? because computer doesn’t know what an A looks like or any other character. We need to tell him how to draw this. Luckily BIOS have some handy methods which do that for us.
So below is the equivalent of putc('A') in 16 bit mode.
MOV BX, 0x00
MOV AH, 0x0E
MOV AL, 'A'
INT 0x10
AX and BX are two CPU Registers each of size 16 bits.
If you divide AX into two 8bit register. Lower half starting from 0 can be accessed by AL and upper half can be accessed by AH
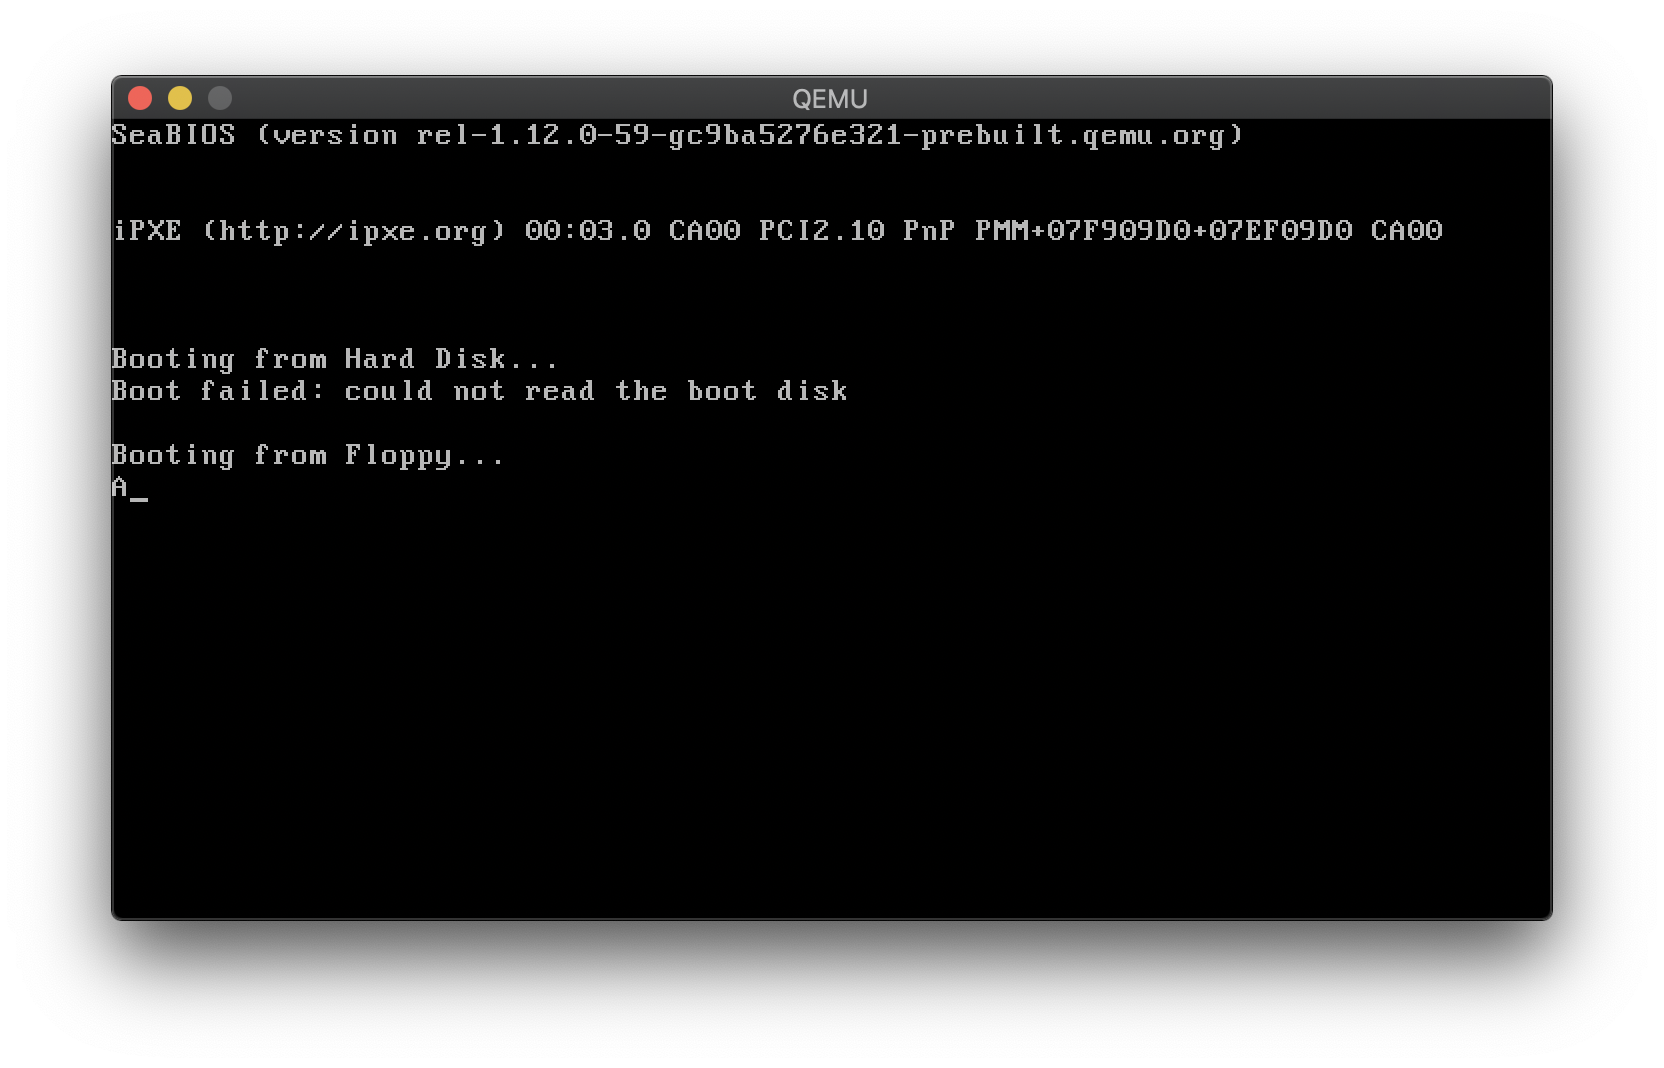
Let’s try this in emulator
// boot.asm
bits 16

MOV BX, 0
MOV AH, 0x0E
MOV AL, 'A'
INT 0x10

CLI
HLT

TIMES 510 - ($-$$) DB 0
DW 0xAA55
Compile it using nasm as below.
$ ./dockercross nasm -fbin boot.asm -o boot
And to start the emulator
$ qemu-system-i386 -fda boot
You should see something like this.
Now that we have learned how we can print a single character. Let’s try to print a string.
First of all we would define a string which can be done like this.
text db "Hello World!", 0
Now the psuedo code for printing string would be
puts() {
  while(true) {
    load_next_char_into_cpu_register();

    if(loaded_char == 0) {
      return;
    }

    putc();
  }
}
Assembly code would look something like this.
.print:
  LOADSB
  OR AL, AL
  JZ print_done
  MOV AH, 0x0E
  INT 0x10
  JMP print
.print_done
  RET
LOADSB
It stand for load string byte. It would load a single byte from the address mentioned by DS:SI.
When the address is written in this format it means it a segment based addresss. Will cover this in next section. For now just think of it as SI.
OR AL, AL
JZ print_done
We are doing OR to check check if current char is NULL.
And next instruction JZ means jump on zero. It will jump to the end of routine once we reach the end of the null-terminated string.
So our final program would look something like this.
// boot.asm
BITS 16
ORG 0x7C00

JMP main

print_string:
  LODSB
  OR AL, AL
  JZ print_done
  MOV AH, 0x0E
  INT 0x10
  JMP print_string
print_done:
  RET

main:
  MOV AX, 0
  MOV DS, AX

  MOV SI, msg
  CALL print_string

  CLI
  HLT

msg DB "Hello World!", 0
TIMES 510 - ($-$$) DB 0
DW 0xAA55
Here I have sneaked in many new things which haven’t been explained to you before because they would be explained in later section in much more details as they deserve a seprate section of thier own. Such as segmentation memory model.
ORG 0x7C00
This defines that all our memory address start from given address
MOV AX, 0
This must be pretty straight forward that it’s setting all bits to zero. There’s a faster approach to this using XOR AX, AX but I have prefered this for understanding purpose.
Now if you compile and run the program using qemu you can see out like this.

Next we would be looking into segmantation memory model and then FAT12 filesystem.